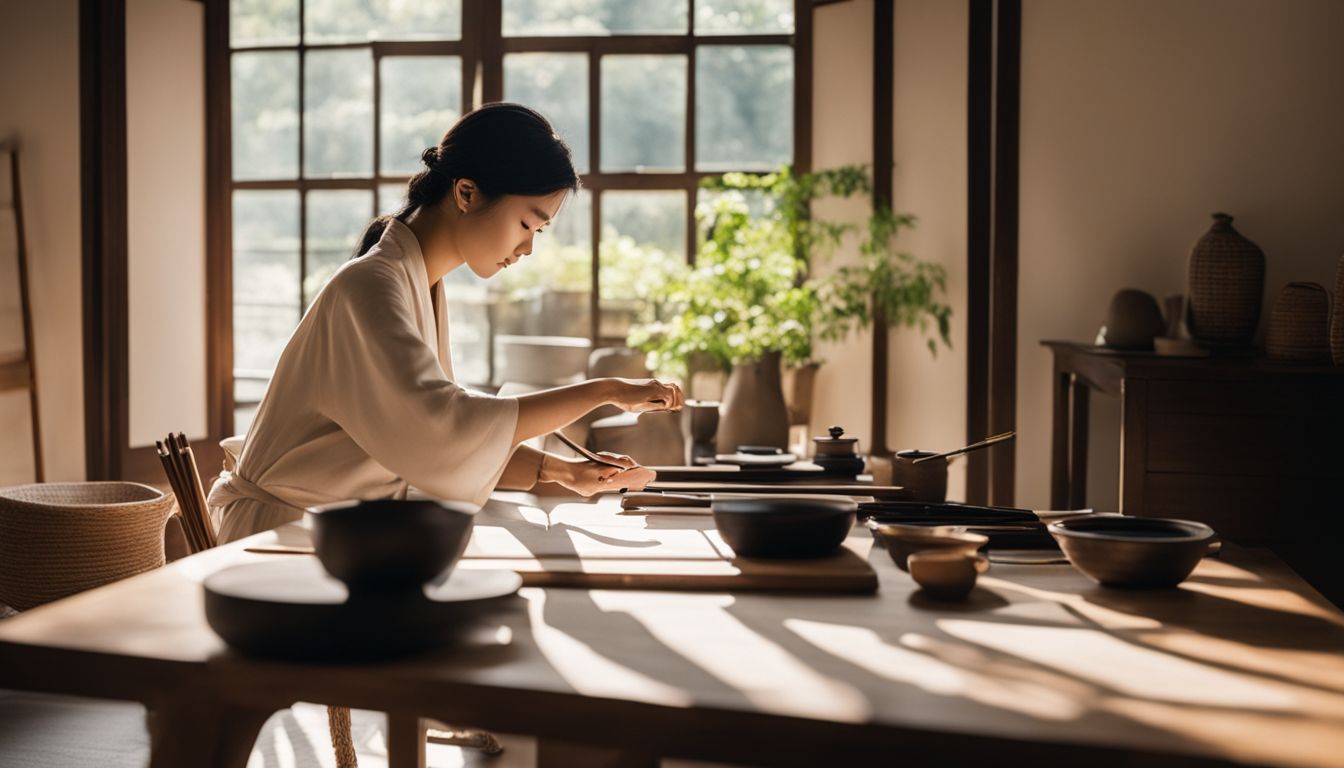
Do you find your handwritten notes or greeting cards lacking a special touch? Artist and calligrapher Jodean Cooper from Desert Plume Calligraphy brings us a guide on creating flowery calligraphy flourishes.
This tutorial will show you how to turn simple writing into stunning art pieces, perfect for events like Valentine’s Day or Deepavali. Let’s make your messages bloom!
Gather Your Supplies

Prepare to create stunning flowery calligraphy with the essential tools and materials you need. Get the recommended types of ink and paper that work best for this artistic endeavor.
Essential tools and materials
Beginning your adventure in fancy calligraphy needs a steady holder and a less yielding nib; we suggest using Nikko G, particularly for beginners. These implements aid in ink control, presenting your hand-illustrated blooms and curls in a sharp, refined manner.
Furthermore, gather fundamental supplies like water for cleaning your nib, paper towels to absorb surplus ink, a pencil for rough sketches of designs, and an eraser to rectify occasional errors.
Aspiring to infuse your floral calligraphy work with a dash of pizzazz? Think about optional materials such as a Sakura clear Stardust Gellyroll pen or Finetec Arabic Gold watercolor for a higher artistic touch.
These exquisite elements do more than just amplify the aesthetic pleasure, they impart a distinct charisma to every piece you create. Whether dotting your artwork with golden watercolor highlights or adding glittering detail with a gel pen, these materials let your creativity flourish on paper.
Recommended types of ink and paper
For your flowery calligraphy projects, choosing the right ink and paper is key. Ziller Soot Black or Sepia inks are perfect for creating stunning contrasts in your designs. These inks have a smooth flow that works well with dip pens, giving you precise control over each stroke.
They dry to a matte finish, making your floral drawings stand out.
Selecting suitable paper also makes a big difference. You can use envelope, note card, or practice paper depending on the project at hand. Envelope and note card papers are ideal for sending personalized messages for occasions like Valentine’s Day or attaching unique tags to gifts.
Practice papers offer a great surface to refine your drawing and calligraphy skills before transferring them onto more permanent materials. Now that we’ve covered ink and paper choices let’s move on to sketching basic flower shapes.
Basic Techniques for Drawing Flowers
The Basic Techniques for Drawing Flowers involve sketching simple flower shapes and adding detail to your designs. Integrating these techniques can enhance the overall visual appeal of your floral calligraphy.
Sketching simple flower shapes
Start by drawing tiny spiral and horseshoe-shaped lines to form the basic structure of your flowers. This technique creates an elegant foundation for any floral design in calligraphy, especially when you aim for a hand-drawn appearance.
Using pen and ink, these simple shapes immediately bring a naturalistic touch to your artwork, making it appear more sophisticated.
Add small circles for smaller flower centers to give life to your sketches. These circles act as focal points and can vary in size depending on the type of flower you are replicating.
Practice sketching these elements separately before combining them into layered designs. Personal experience shows that experimenting with different sizes and arrangements of spirals, horseshoes, and circles helps in understanding how they contribute to the overall look of the flower.
Adding detail to your flower designs
Incorporate additional details by drawing a curved line across the bud. Surround the bud with 4-5 heart-shaped petals. Add these intricacies to enhance your floral calligraphy and make the designs more captivating.
Creating Flourishes Around Flowers
Transform simple flower designs into stunning calligraphy by adding intricate flourishes that enhance the overall visual appeal. Integrate graceful swirls and delicate lines to elevate your floral calligraphy to the next level of artistic expression.
Techniques for adding flourishes
To add captivating flourishes to your calligraphy, try incorporating heart-shaped petals on the right side of flower buds. This simple addition brings an elegant touch to your floral designs.
Another effective technique is enhancing smaller flowers by including extra petals, which adds intricacy and charm to your artwork.
By utilizing these techniques, you can elevate the visual appeal of your floral calligraphy while infusing it with a sense of grace and beauty. Incorporating these methods into your artistic process will enable you to create stunning flowery calligraphy that captures attention and admiration.
Integrating flourishes with floral designs
When integrating flourishes with floral designs, consider adding leaves behind petals and on stems. Optionally, add tiny berries or small buds to enhance the overall visual impact.
Sprucing up your calligraphy with these simple yet effective elements can significantly elevate the aesthetic appeal of your artwork.
Embellishing Your Floral Calligraphy
Enhancing Your Floral Calligraphy
Intensifying the Visual Appeal of Your Flowered Script
Using color to enhance visuals
Enhancing visuals with color can elevate your floral calligraphy to new heights. Adding vibrant hues to your designs draws attention and creates a stunning visual impact. You can use colored pencils, pastels, or watercolors to bring life to your creations.
Experiment with blending colors using a cotton swab for a soft and gradient effect that adds depth and dimension to your floral calligraphy. Let the colors complement each other, adding richness and vibrancy to your artwork.
Incorporating color is an essential aspect of creating captivating visuals in floral calligraphy. By choosing the right hues and mastering blending techniques, you can take your artwork from ordinary to extraordinary.
Adding sparkle with glitter or metallic inks (Optional)
Enhance the visual appeal of your floral calligraphy by incorporating glitter or metallic inks. Sprinkle a touch of sparkle onto your artwork to create an eye-catching effect. Utilize gold Finetec watercolor to add small, shimmering dots that elevate your design.
For added flair, consider tracing stems and outlines with Stardust Gellyroll pens to infuse your creations with a dazzling finish.
Integrating Italic Calligraphy with Floral Designs
When integrating italic calligraphy with floral designs, you can create a harmonious balance using the slanted and flowing nature of italic script to complement the organic shapes of flowers.
The elegant curves and angled lines in italic calligraphy can beautifully interact with the natural forms of petals and leaves, enhancing the overall visual appeal. By skillfully merging these two elements, you can craft captivating artworks that showcase the seamless integration of bold lettering and delicate floral motifs within your compositions.
The fluidity of italic calligraphy lends itself well to emulating botanical elements such as vines or stems, allowing for a cohesive fusion between text and flora. This integration opens up exciting possibilities for creating dynamic compositions where each element complements and enhances the other, ultimately producing visually striking works of art.
Moreover, by blending italic calligraphy with floral designs, you can add depth and dimension to your creations while infusing them with an enchanting sense of grace and sophistication.
Final Touches and Presentation
Once your floral calligraphy is complete, refine the artwork for a polished look. Utilize your creation in various projects to showcase its full potential.
Tips for cleaning up and refining your artwork
After completing your floral calligraphy masterpiece, it’s vital to tidy up and refine your artwork. Begin by gently removing any stray pencil marks on the paper before adding color or metallic inks for a stunning finish.
Pay close attention to small details as you enrich your floral calligraphy with glitter or vibrant colors to make it stand out. To ensure a refined look, consider shading petals with intricate lines at the base before presenting or using your artwork in projects.
The final details are crucial for displaying your art, so take into consideration tips mentioned during the process of creating and refining your stunning flowery calligraphy flourishes.
Keep in mind that even minor adjustments can have a significant impact on the overall presentation of your work. By following these tips and tricks, you will be able to create exceptional pieces of floral calligraphy that are not just visually appealing but also captivating.
Ideas for utilizing your floral calligraphy in projects
Once you have perfected your floral calligraphy skills, it’s time to use them in various projects. Craft personalized cards for special occasions such as birthdays and Valentine’s Day.
Make beautiful gift tags or bookmarks by incorporating your floral calligraphy into the design. You can also create stunning wall art by framing your calligraphic creations or using them as the focal point of a larger piece of artwork.
For those who enjoy baking, consider using edible ink to add decorative touches to cakes, cookies, and other treats for an extra-special touch.
When it comes to home decor, transform ordinary items such as trays or coasters with hand-drawn botanical designs that showcase your talent in floral calligraphy. Consider adding a personal touch to notebooks and journals with custom cover designs featuring your flourishing floral script.
Additionally, create unique digital assets like clip art and user profiles that reflect the beauty of hand-drawn floral elements alongside delicate font created through floral calligraphy.
Share your creativity on social media platforms – others will admire your work, and sharing offers inspiration while fostering a community centered around engaging with each another’s artistic talents.
Conclusion
Ultimately, crafting beautiful floral calligraphy is a delightful and fulfilling pursuit. You can explore diverse floral variations, hues, and decorations to customize your art. Apply your floral calligraphy to different endeavors and showcase your designs for motivation.
Ensure to refine and perfect your work with great care for a sophisticated display. Embrace the innovation and elegance that arises from incorporating italic calligraphy into floral patterns.
FAQs
1. What is the tutorial about creating stunning flowery calligraphy flourishes?
The tutorial provides step-by-step guidance on how to create hand-drawn, stunning flowery calligraphy flourishes that can be used for various occasions like Valentine’s Day or to imitate styles such as Islamic Calligraphy.
2. How do I get information on this tutorial?
You can get all the necessary information through electronic communications, either by subscribing to our network or having it directly delivered to your inbox from your Internet Service Provider.
3. Can I use these techniques for other designs too?
Yes, you can apply these techniques in different ways such as creating Rangoli patterns or even personalizing your own hand-drawn designs.
4. Will this tutorial help me improve my calligraphy skills?
Absolutely! This step-by-step guide will not only teach you how to create beautiful flourishes but also enhance your overall skill in calligraphy and hand-drawing.


Leave a Reply
You must be logged in to post a comment.