Struggling with your calligraphy pen? You’re not alone. Many people find it tricky to master how to hold a calligraphy pen right. Our guide will show you the best grip and posture for smooth ink flow and beautiful writing.
Ready to improve?
The Basic Grip for Calligraphy

The basic grip for calligraphy involves proper finger placement and understanding the importance of pen angle to achieve optimal results. Pen holds can vary depending on whether you are using a straight or oblique pen, affecting fingertip movements and nib contact with the paper.
Proper finger placement
Proper finger placement on a calligraphy pen is crucial for the control and fluidity of your strokes. Grip the pen gently using your thumb, index, and middle fingers. Your index finger should be slightly curved to guide the writing tool easily across calligraphy paper.
Preserve about 1/2 inch distance between your fingertips and the end of the pen shaft for the best motion.
Training with various types of pens, such as fountain pens, dip pens, or brush pens filled with India ink can provide insights into the way pressure influences ink flow through different nibs like italic nibs or flex nibs.
This knowledge allows you to gauge the right amount of force needed for creating fine upstrokes and broad downstrokes, which are crucial for stunning lettering styles like Carolingian minuscule or cursive writing.
Pen angle and its importance
Once you’re comfortable with positioning your fingers, concentrating on your pen’s angle reveals the art of stunning calligraphy. Properly angling a calligraphy pen can immensely impact the outcome.
Strive for a 35° tilt from the paper. This specific slant aids in line thickness control, having a direct effect on your lettering’s overall appearance.
Making sure both sides of the nib tip are evenly touching the paper guarantees a uniform ink flow and stroke width. The tilt aids in achieving the appealing contrast between thick and thin lines, and also avoids snagging that can potentially ruin your efforts.
A consistent angle across words and letters contributes to the harmony and proficiency of your calligraphy, setting a clear distinction between novice strokes and those of more seasoned writers.
Variations in Pen Holds
Different calligraphic styles may require different pen holds. While some calligraphers prefer holding a straight pen, others favor using an oblique pen for their work. Each hold offers unique benefits and impacts the writing process in distinctive ways.
Holding a straight pen
Holding a straight pen requires precise finger placement and understanding the importance of the pen angle. For best results, grip the writing utensil about 1/2 inch from its bottom.
This position allows for better control and ensures that both tines of the steel nib touch the paper evenly. It helps in avoiding common mistakes such as gripping too far up on the pen shaft.
Keep your movements smooth and let fine motor control guide your hand. This technique is crucial for creating beautiful strokes in western calligraphy or when working with various writing utensils like felt tips or ballpoint pens.
A steady grip paired with proper elbow alignment contributes to an effortless flow of ink, ensuring each letter is crafted perfectly.
Holding an oblique pen
Transitioning from holding a straight pen to an oblique pen involves significant adjustments. When using an oblique pen, the orientation of the nib and flange changes due to its slanted design.
This results in better ergonomics and improved line quality when writing at an angle. The unique grip of this pen allows for smoother transitions between thick downstrokes and thin upstrokes, crucial for creating elegant calligraphic scripts such as Spencerian or Copperplate styles.
Adapting to this grip may require some practice, but it can significantly enhance the overall calligraphy experience.
Ensuring proper finger placement on the flange is essential when holding an oblique pen. It facilitates a consistent angle of the nib against the paper, allowing for seamless ink flow and stroke execution.
Furthermore, maintaining a relaxed hand position while utilizing an oblique pen promotes fluidity in movement, resulting in graceful letterforms that are characteristic of traditional calligraphy styles.
Posture and Its Impact on Calligraphy
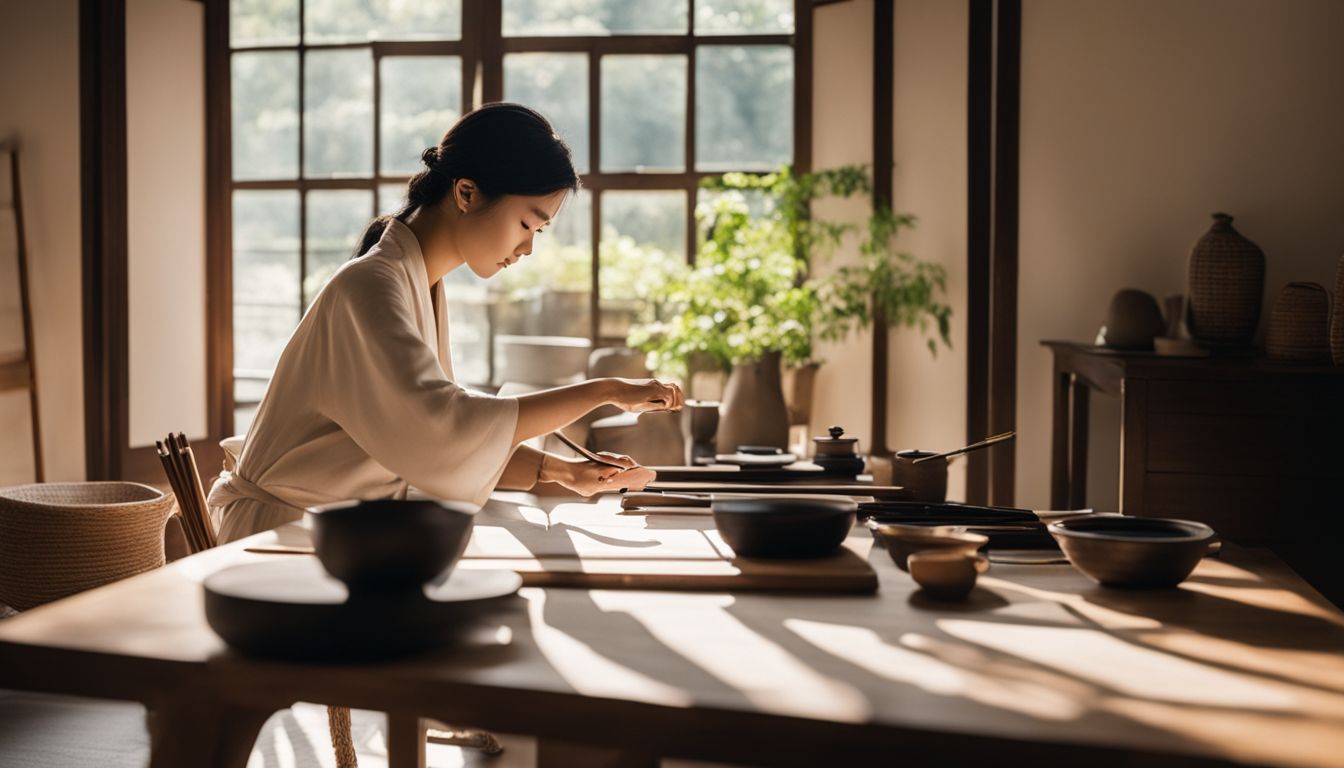
Maintaining the correct posture and positioning can significantly affect calligraphy. Sitting in an ideal position and aligning your arm and hand correctly are crucial for achieving optimal results in calligraphy.
Ideal seating position
Sit upright with your feet flat on the floor to ensure proper blood circulation in your arms. Keep your back straight, and avoid slouching to prevent arm and back pain. Place a cushion or a small pillow behind your lower back for added support.
Incorporating these seating adjustments enhances comfort and posture, aiding in consistent calligraphy execution without discomfort or fatigue. Next up – Arm and hand alignment to further improve the quality of your work.
Arm and hand alignment
After finding your ideal seating position, it’s crucial to focus on aligning your arm and hand properly. Maintaining a straight wrist and ensuring that both the arm and hand move together will help in achieving smooth, consistent pen strokes while minimizing strain on your muscles.
Proper alignment of your arm and hand is essential for calligraphy success. Keep in mind to check that your wrist remains straight as you write, allowing for optimal control. Also, make sure that you maintain a relaxed grip to avoid unnecessary tension in the arm and hand.
Common Mistakes to Avoid
When holding a calligraphy pen, avoid gripping it too tightly as it can restrict your movement. Ensure that the nib makes proper contact with the paper to maintain consistent ink flow.
Holding the pen too tightly
Gripping the calligraphy pen too tightly can lead to multiple issues. It contributes to ink flow problems, impacting nib performance. Furthermore, it frequently results in arm and back discomfort due to excessive tension.
The firm hold makes it difficult to maintain consistent strokes, impeding the overall quality of the calligraphic work.
To enhance your calligraphy experience, remember to regularly check your grip strength and relax your hand during long sessions. By avoiding gripping the pen too tightly, you can prevent these common challenges and create smoother, more elegant lettering with ease while also reducing strain on your hand and arm muscles.
Incorrect nib contact with paper
Incorrect nib contact with paper can result in irregular ink flow and affect the quality of your calligraphy. It’s crucial for both tines of the nib to make even contact with the paper to ensure consistent and smooth writing.
The proper pen angle is crucial for maintaining proper stroke shapes, so improper contact between the nib and paper can disrupt this balance. Be mindful of how your pen contacts the paper to avoid any issues with ink flow and stroke consistency.
Maintaining correct nib contact is fundamental for producing high-quality calligraphy. This aspect directly influences the overall look of your writing, so paying attention to it will enhance your craft.
Always keep in mind that uneven nib contact with paper can lead to unpredictable results, undermining all other efforts put into refining your skills.
Tips for Maintaining a Consistent Pen Hold
To maintain a consistent pen hold, periodically check your grip and practice relaxation techniques during long sessions. These tips can help improve your calligraphy skills by ensuring a stable and comfortable position for the pen.
Checking grip periodically
Periodically check your grip while practicing calligraphy to ensure it remains relaxed and correctly positioned. Use worksheets as a helpful tool, providing visual cues for maintaining the proper hold.
Verify your grip every few minutes, relaxing and correcting it if necessary to prevent ink flow issues and maintain consistent penmanship.
Regularly monitoring your grip is essential in preventing discomfort and ensuring optimal performance during extended calligraphy sessions. Consider implementing relaxation techniques and applying slight adjustments as needed for a comfortable yet effective pen hold.
Moving on to “Relaxation Techniques During Long Sessions,” find ways to keep your hand feeling fresh even during prolonged periods of writing.
Relaxation techniques during long sessions
To guarantee a comfortable and serene calligraphy session, it’s essential to incorporate relaxation techniques to maintain focus and prevent strain on your hand and arm. Integrating regular deep breathing exercises aids in managing stress and promoting a steady grip while working with calligraphy pens.
Moreover, taking brief pauses during extended sessions can alleviate any potential arm or back discomfort, enabling you to stretch your fingers and arms to release tension.
Regular deep breathing
Short breaks every 30 minutes
Stretching fingers and arms throughout the session
Personalizing Your Pen Hold for Unique Styles
To achieve unique and personalized calligraphy styles, it is important to experiment with varying pen holds. Embracing different hand positions and finger placements can result in distinct strokes and letter forms.
By adjusting your grip on the pen nib, you can customize your writing to suit specific artistic expressions or desired effects. Variations in pen holds also play a crucial role in adapting to different types of calligraphy pens, such as dip pens, fountain pens, monoline pens, and brush pens.
Each pen type responds differently to adjustments in hold and angle, allowing you to create customized styles tailored towards your artistic vision.
Understanding how personalizing the pen hold influences the outcome of your calligraphy provides direct experience into the continuously evolving world of this intricate art form. Exploring these intricacies reveals secrets that enhance not just technique but creativity as well.
Conclusion
Mastering the proper grip for a calligraphy pen is vital for achieving exceptional results. It’s crucial to maintain correct finger placement and pen angle, ensuring consistency in your writing.
By focusing on posture and avoiding typical errors, you can enhance your calligraphy skills. Keep in mind that customizing your pen hold can help you develop a unique style in your work.
Through practice and dedication, you can achieve beautiful calligraphy with the right techniques.
FAQs
1. What is the correct way to hold a calligraphy pen for best results?
The right way to hold a calligraphy pen involves precise finger movement and positioning of the steel nibs or cut nib, similar to techniques used by Edward Johnston.
2. How do I move my fingers when using a calligraphy pen?
You should move your fingers in an anti-clockwise direction while holding the pen lightly but firmly, lifting it occasionally for smooth strokes in creating uncials or other forms.
3. Can I learn how to hold a calligraphy pen online?
Yes, you can find helpful guides on websites like WikiHow that provide step-by-step instructions with Creative Commons licensed images.
4. Will my internet service provider affect my ability to send emails about learning calligraphy?
Your internet service provider should not hinder your ability to email questions about learning calligraphy unless there’s an issue with your connection.


Leave a Reply
You must be logged in to post a comment.