Calligraphy is a beautiful art form that requires patience and the right tools. One of the most important tools for any calligrapher is the ink. Taking care of your calligraphy ink can make it last for years, even decades. This guide will show you several ways to ensure your ink stays fresh and usable for as long as possible.
Key Takeaways
- Store your ink in the right containers and conditions to keep it fresh.
- Revive dried-up ink using water or gum arabic.
- Prevent your ink from evaporating by sealing it properly and stirring regularly.
- Clean your nibs often to avoid ink flow problems.
- Choose high-quality inks to avoid issues and get the best results.
Proper Storage Techniques
Choosing the Right Containers
To make your calligraphy ink last longer, selecting the right container is crucial. Always store your ink in airtight bottles to prevent it from drying out. If the original bottle isn’t airtight, transfer the ink to a container that seals well. This will help keep the ink fresh and ready for use.
Spilling ink? Ink drying out too fast? No effective way to hold onto your Fountain pen? It’s time to get a pen holder, here’s one Pen Beast suggests: Fountain Pen Holder.
Ideal Storage Conditions
Store your ink in a cool, dark place. Exposure to sunlight and heat can cause the ink to degrade faster. A drawer or a cabinet away from windows is an ideal spot. Keeping the ink at a stable temperature will ensure it maintains its quality over time.
Avoiding Contamination
To avoid contaminating your ink, always use clean tools when dipping into the bottle. Never return unused ink back into the container, as this can introduce dirt and other particles. Contaminated ink can affect the flow and color, making your calligraphy less consistent.
Proper storage not only extends the life of your ink but also ensures that your calligraphy projects turn out beautifully every time.
Reviving Dried-Up Ink
Reconstituting with Water
If your calligraphy ink has dried up, don’t worry. Adding water can often bring it back to life. Start by adding a few drops of distilled water to the ink. Let it sit for 24 hours, then stir it well. This allows the water to mix thoroughly with the dried ink, making it usable again.
Using Gum Arabic
Gum Arabic can also help revive dried ink. Mix a small amount of Gum Arabic with water and add it to the ink. This not only rehydrates the ink but also improves its flow and consistency. Be sure to mix it well to avoid any lumps.
Need to revive your dried up ink? Gum Arabic is vital to any fountain pen enthusiasts. Mix with your ink and a little water for your ink to return to life: Find Gum Arabic here.
Testing and Adjusting
After reconstituting your ink, always test it on a piece of paper. Check for the right consistency and color. If it’s too thick, add a bit more water. If it’s too thin, let it sit uncovered for a while to evaporate some of the water. Adjust until you get the perfect ink for your calligraphy.
Maintaining Ink Consistency
Preventing Evaporation
To keep your ink from drying out, always make sure the lid is tightly closed when not in use. Store your ink in a cool, dry place to minimize evaporation. If you notice your ink getting thicker, add a few drops of distilled water and stir well.
Mixing Inks Correctly
When mixing inks, always use clean tools to avoid contamination. Start by combining small amounts to test the consistency. If the ink is too thick, add distilled water drop by drop. For thin ink, leave the lid off for a few hours to let some water evaporate.
Regular Stirring
Ink particles can settle at the bottom of the container, especially metallic inks. Stir your ink regularly to maintain an even consistency. Use a clean stirrer and mix thoroughly before each use.
Regular maintenance and proper handling can significantly extend the life of your calligraphy ink.
The right ink pot doesn’t move when you’re dipping your fountain pen, be sure to get an ink pot that is both practical and aesthetic: Pen Beast Suggested Ink pot.
Cleaning Your Nib Regularly
Tools for Cleaning
To keep your nibs in top shape, you’ll need a few basic tools. A jar of water, an old toothbrush, and a paper towel can work wonders. Using a cloth or paper towel to handle your nibs helps too. This prevents oils from your fingers from transferring to the nib.
Cleaning Techniques
Start by disassembling your pen and removing the ink cartridge. Run the nib under cold water until it runs clear. For stubborn ink, gently scrub the nib with a toothbrush. You can add a bit of liquid soap if needed. Dry the nib with a paper towel or soft cloth.
Frequency of Cleaning
Regular cleaning is key to maintaining good ink flow. Clean your nib during use to remove any dried ink. A quick clean every now and then can solve many ink flow problems. If you notice ink resisting the nib, it’s time for a clean.
Keeping your nib clean ensures smooth writing and prolongs the life of your calligraphy tools.
Ink can be notoriously difficult to clean when it’s had a chance to dry. Consider getting some Pen Ink Cleaner Fluid to make the clean up easier. Try this Ink Cleaner Fluid.
Choosing Quality Inks
Benefits of High-Quality Inks
Using high-quality inks can make a big difference in your calligraphy. They flow smoothly and consistently, reducing the chances of blotches and uneven lines. High-quality inks also tend to have richer pigments, which means your work will look more vibrant and professional. Additionally, they are less likely to clog your pen, making your writing experience more enjoyable.
Recognizing Poor Quality Inks
Poor quality inks can be identified by their inconsistent flow and tendency to clog pens. They often have weak pigments, resulting in dull and faded writing. These inks may also contain impurities that can damage your pen over time. If you notice your ink is causing frequent issues, it might be time to switch to a better brand.
Recommended Brands
Here are some recommended brands known for their high-quality calligraphy inks:
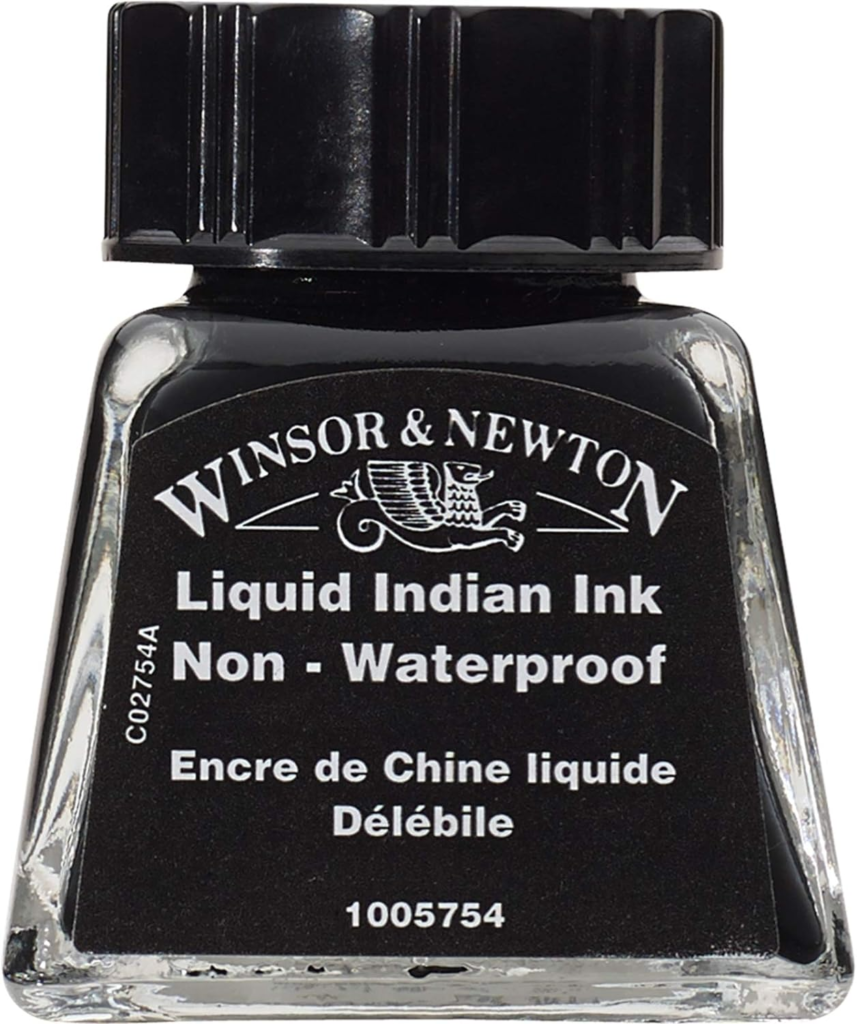
- Winsor & Newton: Known for their vibrant colors and smooth flow.
- Higgins: Offers a variety of inks that are reliable and easy to use.
- Dr. Ph. Martin’s: Popular for their rich pigments and consistency.
Investing in good quality ink can save you time and frustration, and improve the overall quality of your calligraphy work.
Handling Ink While Writing
Avoiding Finger Oils
When writing, it’s important to keep your fingers away from the nib and the paper. Oils from your skin can interfere with the ink flow, causing inconsistent lines. Use a tissue or a cloth to handle the nib and paper if necessary.
Using the Right Amount of Ink
One common mistake is using too much ink on the nib. This can lead to ink blobs on your paper. To avoid this, dip your nib lightly into the ink and remove any excess by tapping it gently on a scrap piece of paper.
Preventing Ink Blobs
Ink blobs are often caused by too much ink on the nib. Keep a piece of scrap paper nearby to make small marks after re-dipping your nib. This helps ensure that you don’t have too much ink before you start writing on your project.
Consistent practice and careful handling can significantly improve your calligraphy experience.
Diluting Ink Properly
When to Dilute
Knowing when to dilute your ink is crucial. If your ink is too thick, it won’t flow smoothly, causing interruptions in your writing. On the other hand, ink that’s too thin can spread too much, making your lines look messy. Diluting ink helps you achieve the perfect consistency for smooth writing.
Steps for Dilution
- Start with a small amount of ink in a separate container.
- Add distilled water gradually, using a dropper or spoon.
- Stir the mixture well after each addition.
- Test the ink on a piece of paper to check its flow and consistency.
- Repeat the process until you get the desired consistency.
Common Mistakes to Avoid
- Adding too much water at once can make the ink too thin.
- Using tap water instead of distilled water can introduce impurities.
- Not testing the ink frequently during the dilution process.
Properly diluted ink ensures a smooth and enjoyable calligraphy experience. Take your time and adjust gradually to find the perfect balance.

Winsor & Newton Ink
Conclusion
Making your calligraphy ink last longer is all about proper care and a few handy tricks. Always use inks made for calligraphy and keep your nibs clean to avoid any ink flow problems. If your ink gets too thick or dries out, just add a bit of distilled water to bring it back to life. Remember, a little maintenance goes a long way. By following these tips, you can enjoy smooth writing and beautiful calligraphy for years to come.
Frequently Asked Questions
How should I store my calligraphy ink?
Keep your ink in a cool, dark place. Use airtight containers to prevent it from drying out.
Can dried-up ink be saved?
Yes, you can often revive dried-up ink by adding a bit of water and stirring it well.
How do I dilute calligraphy ink?
Add a small amount of water to your ink, a little at a time, until you get the right consistency.
What tools do I need to clean my nib?
You’ll need a jar of water, an old toothbrush, and a paper towel to clean your nib properly.
Why does my ink flow poorly?
Poor ink flow is usually due to ink that’s too thick or nibs that are dirty. Try adding water to the ink or cleaning your nib.
Are expensive inks better?
High-quality inks usually perform better and last longer, making them worth the investment.


Leave a Reply
You must be logged in to post a comment.